
I enjoy watching The Biggest Loser. And home improvement shows. And even those cheesy TV infomercials about fitness.
They have one thing in common. Before and After pictures!
With my love of renovating homes, I try to take “before” pictures before each project, so I can see the transformation of the “After”. It a way of encouraging myself. I’m all about encouraging!
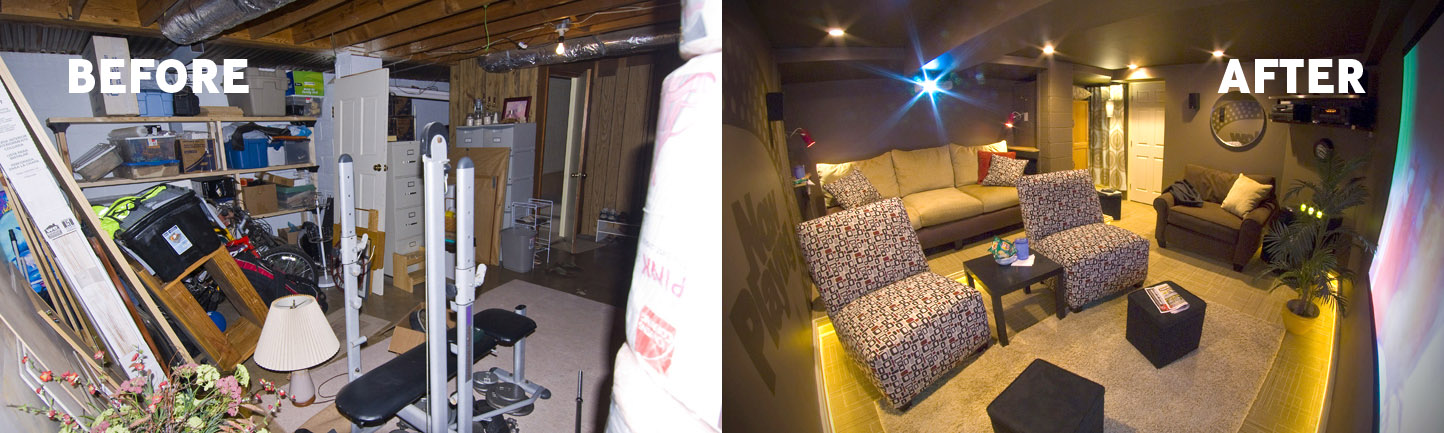
 I just finished transforming a messy storage area in my basement into a media room. You can see from the before and after pictures, that it’s hard to believe that the area is the same square feet. Now that the kids spend time with their friends in our home watching movies and TV, it’s all worth it. In fact, I’m writing this blog while sitting in one of the comfy chairs.
Maybe your Church needs a Before and After transformation.
- Take an honest look at what you have now. Every time I start a project, it’s because I realize that we need some improvement. Or it maybe that we need some TLC change. Or updating. What is it in your church that needs some work?
- Set up the “Before Picture”. I try to not change anything before taking the Before picture (which is obvious, above). Sometimes, I want to tidy it up a bit so I don’t have to admit our downfall. In your church, sit down with some of your church leaders, staff or congregation, and “take” an accurate picture of what you don’t like about the ___________. The more descriptive you can be about what you currently have, the better.
- Dream. This is the fun part. We often sit and discuss what we’d like the space to do. Then we do lots of research imagining what the possibilities are. I’m impressed with what others do. Even with their (often) larger budgets, I always learn from their techniques and goals. Remember, when you brainstorm, there’s no right and wrong. Instead, listen for the “heart” of the requests.
- Acquire the right Supplies. Once we decide on the direction, I start looking for the materials to do it right — and within our budget. Throughout this process, I realize I can do different things based on accessibility of supplies. So don’t be scared to alter the master plan — just include the “dreamers” in this process so they can realize why you’re changing things. And don’t rush this step! I sometimes take a year to find the right stuff for the right price.
- Do the Work. I create a “Lowes Department Store” in my workshop as I assemble the right materials and tools. I visit and revisit this “store” to make sure it’s all there. Then we do the work. Bringing in experts as needed. But make sure that the experts have a heart of a teacher so you learn through this process. It’ll save time and money in the future!
- Take the After Picture. Once you complete the task, celebrate! This is when you pull out the Before’s and compare them with what God allowed you to do. And be encouraged!
So the only thing that stands between the Before and After — is you! And the desire to get things done. It’s that simple. It takes time and effort — but does it ever pay off! God wants to use you. Or someone in the pew who has the gifts.